Introduction to Duct Leakage Test
A Duct leakage test is a crucial procedure for assessing the integrity of HVAC duct systems. This test identifies leaks that may compromise system efficiency, comfort, and indoor air quality. By understanding the significance of duct testing, homeowners and professionals can implement effective solutions to enhance energy performance in residential and commercial settings.
What is a Duct Leakage Test?
A duct leakage test is a method used to measure how much air escapes from the ductwork of a heating, ventilation, and air conditioning (HVAC) system. Conducting this test involves pressurizing the duct system and measuring the rate of air loss. This helps in determining the airtightness of the ducts and identifying any leaks that need to be addressed to ensure optimal performance.
Importance of Duct Leakage Tests
The importance of duct leakage tests extends to various aspects of energy efficiency and home comfort. First, leaks can significantly increase energy costs, as conditioned air is lost, forcing HVAC systems to work harder to maintain desired temperatures. Second, leaks can result in poor indoor air quality, as unconditioned outdoor air may enter the ducts. Lastly, regular testing can be instrumental in meeting building codes and standards, particularly those outlined in the International Energy Conservation Code (IECC).
Common Applications of Duct Leakage Tests
Duct leakage testing is critical in various applications, including:
- Residential Homes: Ensuring energy-efficient HVAC systems and enhancing indoor air quality.
- Commercial Buildings: Evaluating large-scale duct systems for leaks to reduce energy waste.
- New Constructions: Verifying compliance with energy efficiency standards and regulations.
- Retrofitting Existing Systems: Upgrading elderly duct systems to improve efficiency.
Understanding Duct Leakage
Causes of Duct Leakage
Duct leakage can result from various factors, including poor workmanship, deterioration of duct materials, and inadequate sealing methods. Over time, the seals around duct joints can wear out, leading to gaps. Additionally, thermal expansion and contraction can stress duct materials, causing fractures. Regular inspections help catch these issues early.
Impact of Duct Leakage on Energy Efficiency
Leaks in duct systems can lead to significant energy efficiency losses. Studies suggest that poorly sealed ducts can waste between 20% to 30% of the energy used to heat or cool a space. This results in larger utility bills and a larger carbon footprint. Homeowners can see immediate financial benefits when leaks are sealed and tested regularly.
Signs Your Ducts May Be Leaking
Homeowners should be vigilant for signs of possible duct leakage, including:
- Unexplained increases in energy bills
- Inconsistent temperatures among different rooms
- Excessive dust accumulation in the home
- Unusual noises from the HVAC system
Preparing for a Duct Leakage Test
Choosing the Right Testing Equipment
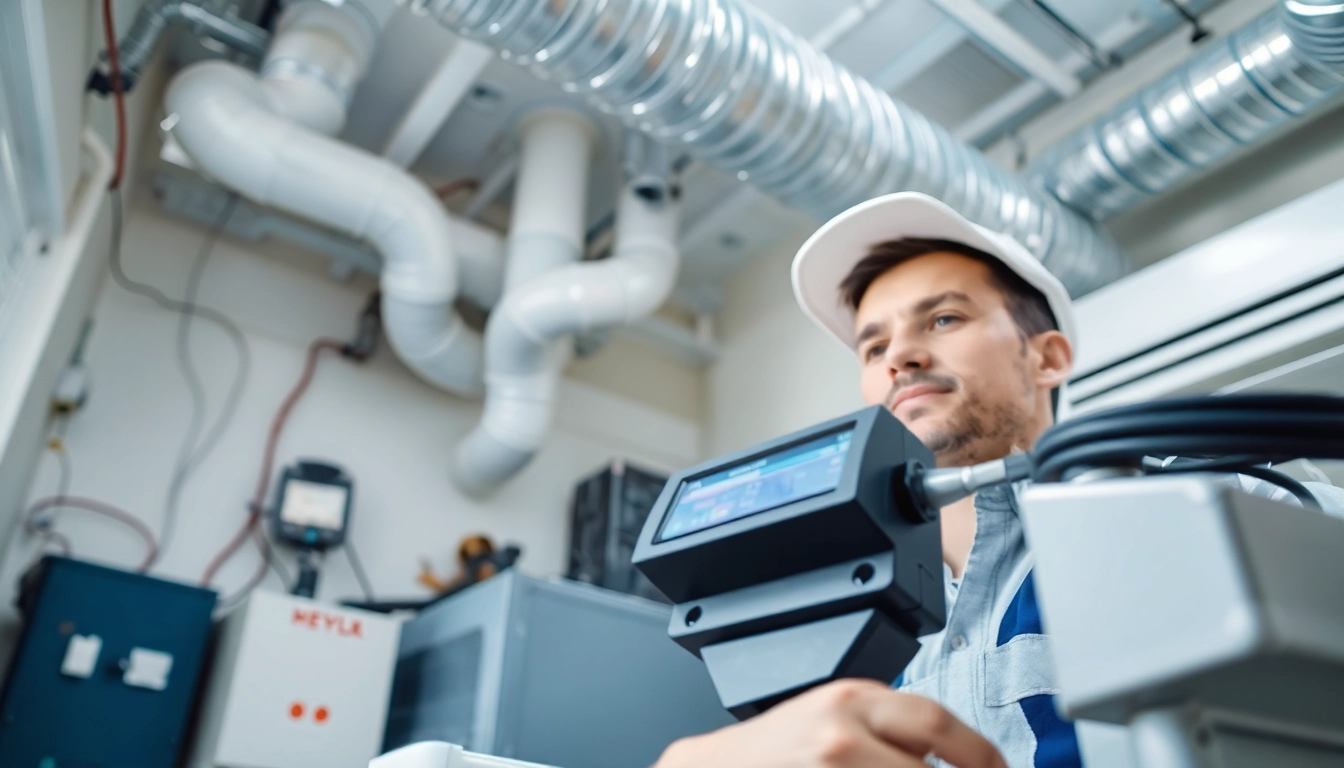
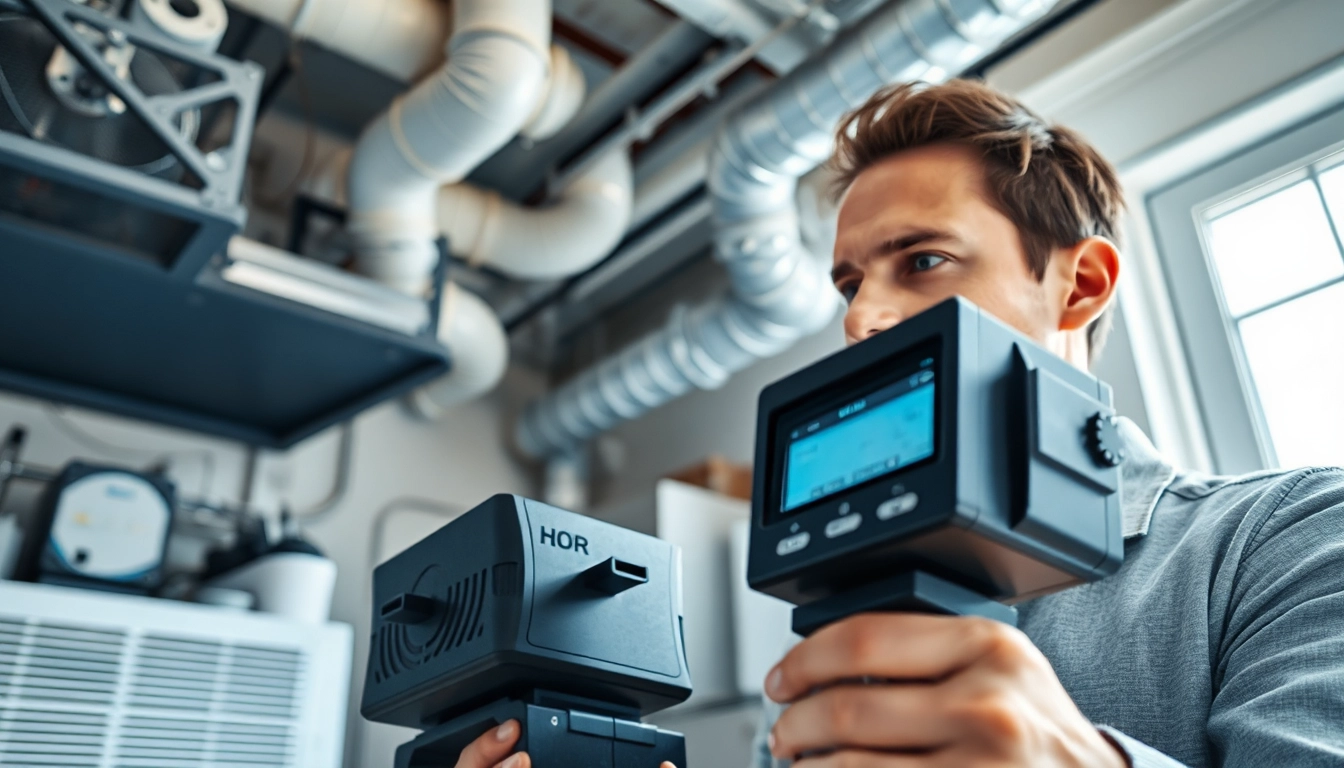
Selecting appropriate testing equipment is critical for accurate duct leakage testing. Tools such as duct blasters, pressure gauges, and flow hoods are commonly used. Duct blasters pressurize the system to quantify leaks, while other instruments measure air velocity and pressure differentials, providing a comprehensive analysis of duct performance.
Pre-Test Inspection Checklist
Before conducting a duct leakage test, the following checklist can guide you:
- Inspect ductwork for visible signs of wear or damage.
- Ensure access to all relevant system components.
- Seal vents and registers in testing zones properly.
- Calibrate testing equipment to ensure accuracy.
Understanding Local Regulations
It's essential to be informed about local building codes and regulations related to duct leakage testing. Some regions may mandate duct testing during construction or major renovations. Compliance with these regulations not only ensures safety but also enhances energy conservation efforts.
Conducting the Duct Leakage Test
Step-by-Step Process of the Test
Conducting a duct leakage test involves several key steps:
- Prepare the Duct System: Ensure all air vents are sealed, and the HVAC system is off.
- Attach the Duct Blaster: Connect the duct blaster to a designated duct and ensure it is securely sealed.
- Pressurize the Ducts: Activate the duct blaster to pressurize the duct system.
- Measure Airflow: Use pressure gauges to monitor how much air escapes through leaks.
- Document Results: Record findings for analysis and potential remedial action.
Interpreting Test Results
Post-testing, it’s vital to interpret the results accurately. Air leakage rates are typically expressed in cubic feet per minute (CFM) at a pressure of 25 Pascals. High leakage rates indicate significant energy loss, while lower rates suggest an efficient duct system. This data assists in deciding on necessary repairs or improvements.
Common Challenges During Duct Testing
While duct leakage testing can be straightforward, several challenges may arise:
- Poor sealing of test equipment: Ensure all connections are airtight.
- Building pressure variations: Local weather conditions can affect test results.
- Incomplete duct systems: Ensure all sections are accounted for during testing.
Post-Test Actions and Maintenance
Repairing Duct Leaks
Once leaks are identified, repairs must be prioritized. Common techniques include resealing joints and seams, replacing damaged duct sections, and using mastic sealants or foil tape. Correctly addressing leaks will significantly enhance overall system performance.
Long-Term Duct Maintenance Tips
Implementing a regular maintenance schedule is essential for ensuring the longevity of the duct system. This can include:
- Regular duct inspections for wear and tear.
- Cleansing ducts to remove dust and debris.
- Completing routine Duct leakage tests every few years to ensure efficiency.
Benefits of Regular Duct Testing
Regular duct leakage testing provides numerous benefits, including:
- Increased energy savings
- Enhanced indoor air quality
- Improved overall comfort in the home
- Prolonged lifespan of HVAC systems
FAQs
What does a duct leakage test involve?
A duct leakage test involves pressurizing the duct system and measuring the escape of air to determine leaks. Accurate tools are used to gauge air loss.
How often should I have a duct leakage test performed?
It is advisable to perform duct leakage tests every three to five years, or after significant renovations to ensure optimal performance and efficiency.
Are there any rebates for duct leakage testing?
Many utility companies offer rebates or subsidies for duct leakage testing to encourage energy efficiency, often making the test more affordable.
What should I do if my duct test shows significant leaks?
If significant leaks are identified, it’s critical to repair them quickly. Options include resealing ducts, replacing damaged sections, and improving insulation.
Can I perform a duct leakage test myself?
While DIY kits exist for duct testing, it's recommended to hire professionals for accurate results and to ensure the correct methodology is employed.